Note that the morphing sequence gif will not show up on the .pdf version of this project.
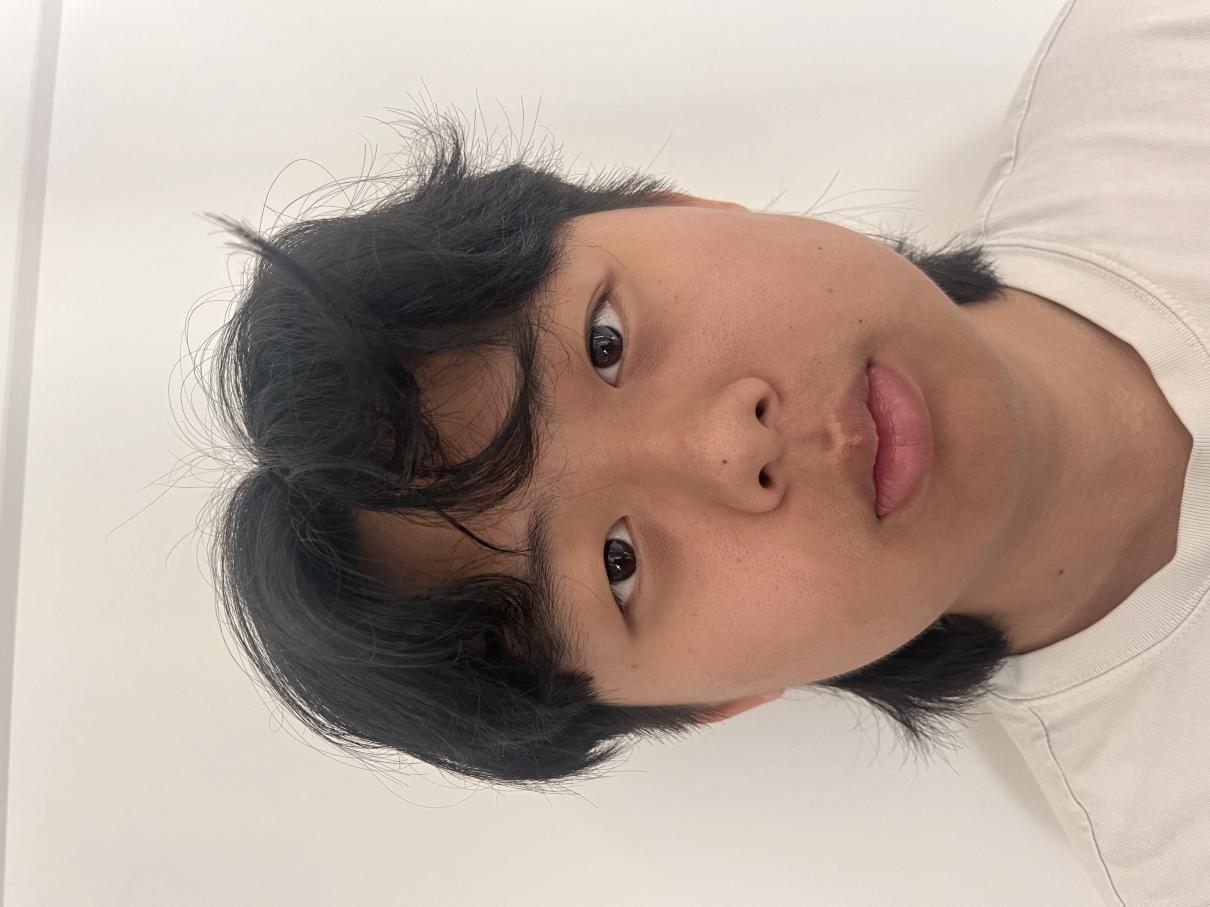
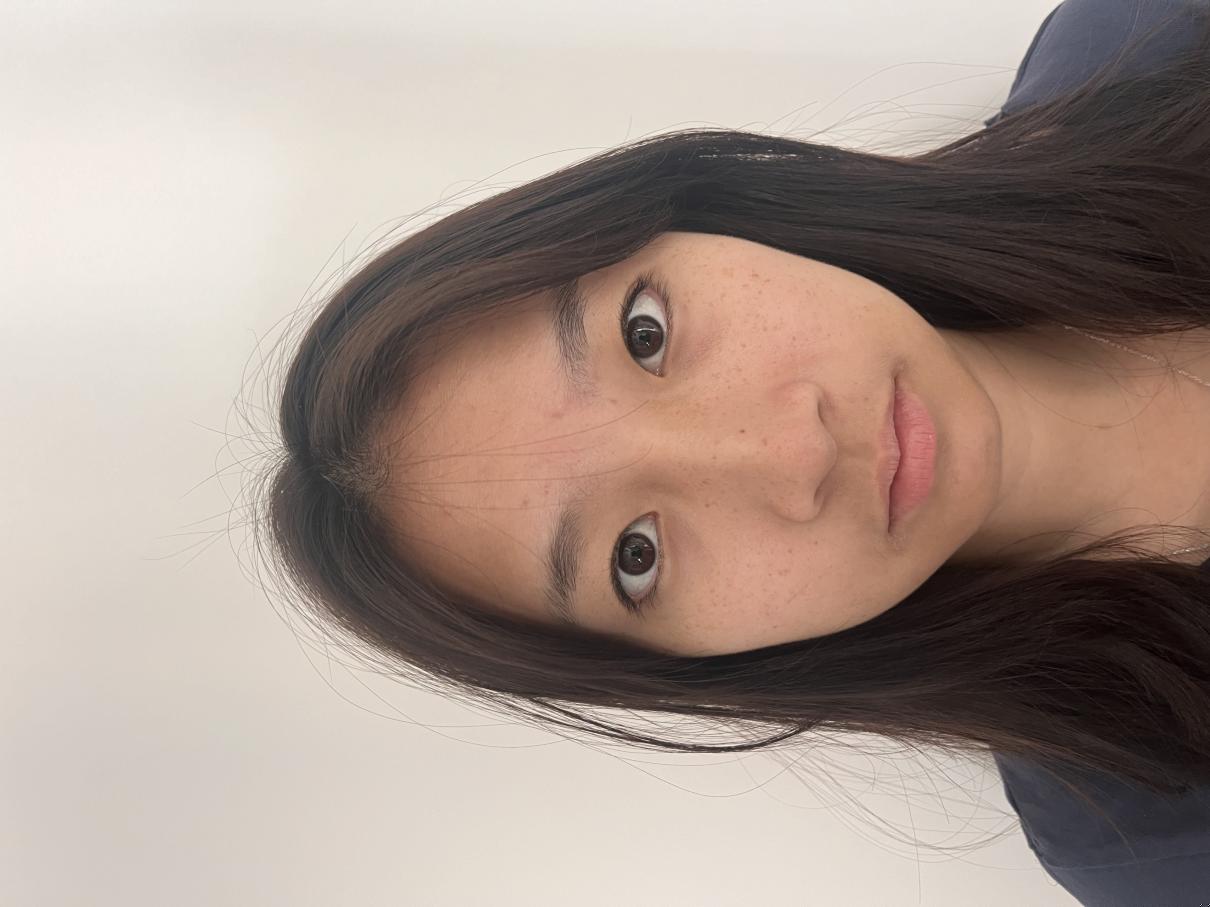
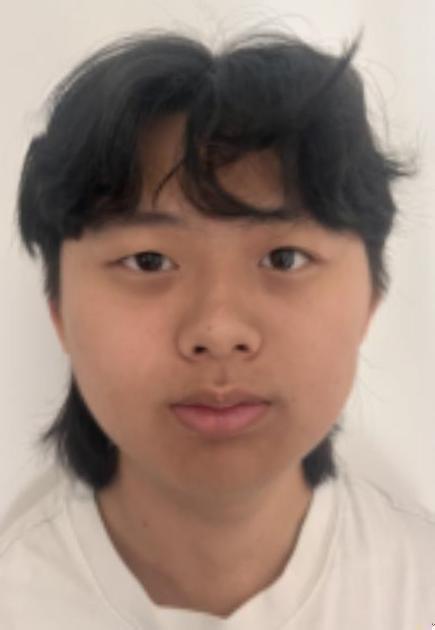
I decided to choose my face and my girlfriend's face for the first three parts, where we're tasked with ultimately creating an animation that morphs one face into another.
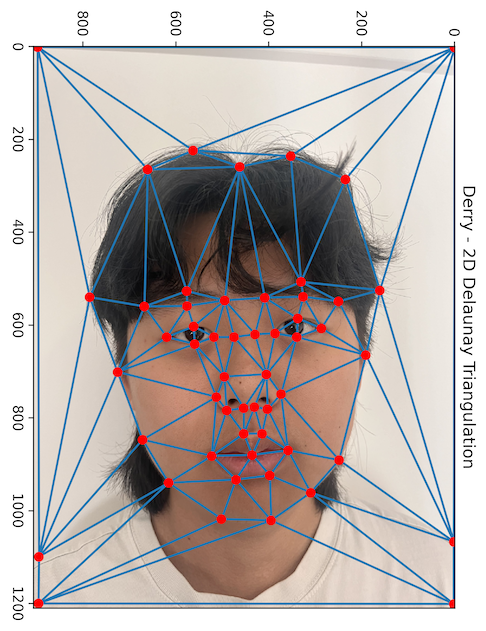
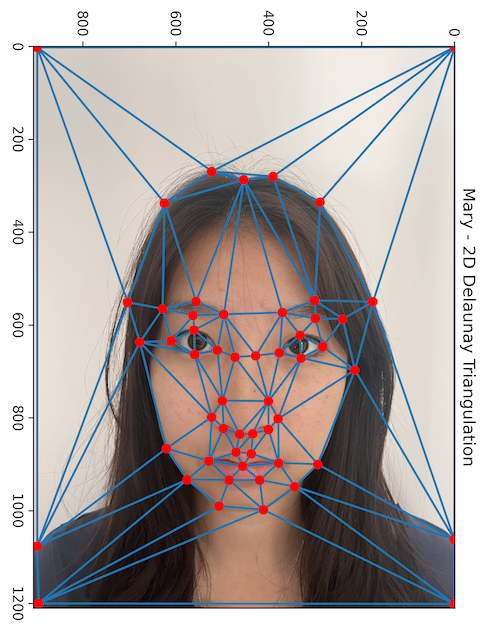
The first step to doing this was defining a triangle mesh over each face. To begin, I used the provided correspondence tool to create point correspondences between the two faces (such as matching corners of lips, eyelids, etc.).
After generating the correspondences on 54 different points, the next task was to create the mesh. I did so
using the scipy.spatial function Delaunay to create a Delaunay triangulation based on the
correspondence points.
To ensure the triangulation was suitable for both images, I averaged the point values for each correspondence, and used those average values to triangulate. The triangulation was then retroactively applied to the original points for each image.
This ended up giving me the following two triangle meshes:


After creating the triangulation, the next step was to generate a halfway face between the two faces. This is done by both warping to two faces into a mid-way shape, and cross-dissolving the pixel values in the warped faces.
To warp the faces, we take a weighted average of the correspondence points between the two images, which gives us a target triangle mesh to warp to. For this section, the weighted average is just a regular average since we want the exact mid-way face.
To warp each face to the target mesh, we take each triangle and warp it to its corresponding triangle on the target mesh. To do so, we use inverse warping. Based on the vertices of the source triangle (a triangle on one of the images), and the destination triangle (the corresponding triangle on the target mesh), we compute an inverse affine transformation matrix which maps locations on the destination triangle onto locations on the source triangle.
Computing the inverse transformation matrix just a matter of solving for the regular transformation matrix (mapping locations on the source to locations on the destination) by solving a system of linear equations to ensure vertices are mapped properly, then inverting the regulation transformation matrix.
In theory, this mapping should let us translate pixel values from the source triangle to locations on the destination triangle, completing the warp. The issue is that the inverse transformation matrix can't guarantee it lands on an actual pixel (which have integer valued coordinates). Sometimes it will land in between two pixels, in which case we don't have a pixel value for it.
The solution is interpolation. Letting each discrete pixel be a point on a 2D grid, we can intepolate decimal valued coordinates using a 2D interpolation,
which is done using scipy.interpolate.RegularGridInterpolator.
Using interpolation and the inverse transformation matrix, we can fill out the warped triangle with pixel values. By repeating this for each triangle in the target triangle mesh, we retrieve a warped image.
After warping both images, the final step is to cross-dissolve the pixel values. For the case of a mid-way face, we can simply take an average of the two pixel values and round to the nearest whole number (assuming pixels are on a 0-255 scale).
The warping process allows us to match the structures of the two faces, and the cross-dissolve subsequently blends the two identically structured faces. The result is the following mid-way face:
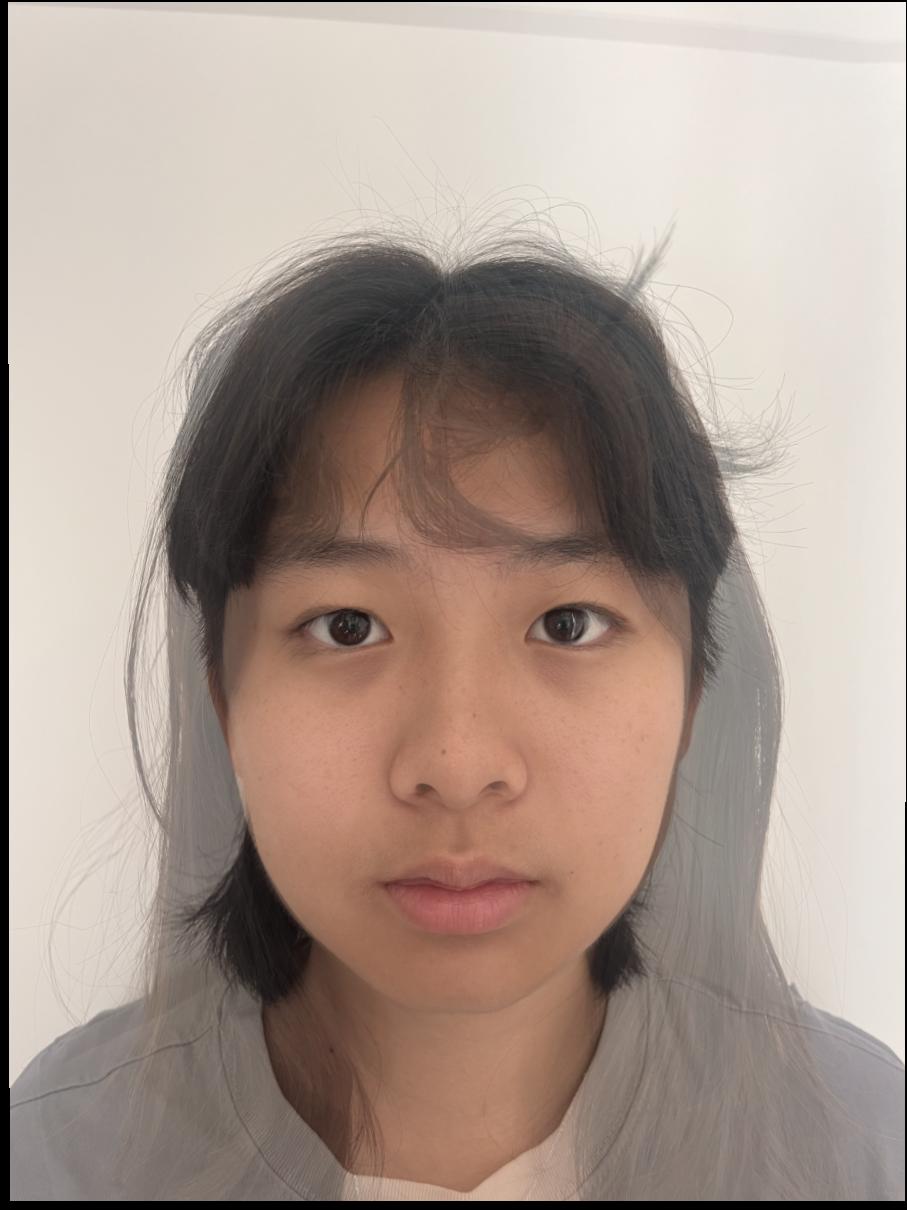
Having computed the mid-way face using an inverse affine transformation matrix, interpolation, and cross-dissolving, we can extend the process to get any blended face partially composed of myself, and partially composed of Mary.
The process ends up being very similar. The main difference is that when computing the target triangle mesh, we take a weighted mean of the correspondence points, with weights corresponding to how much we want one face to influence the structure of the blend. After that, we use the same process of finding an appropriate transformation matrix, and interpolation.
The cross-dissolve also changes to be a weighted mean of pixel values dependent on how much we want one face to influence to coloration of the blend. For the purposes of the morph sequence,
I set warp_frac = dissolve_frac and constructed a linear sequence of both the warp_frac and the dissolve_frac from 0 to 1. Technically the two fractions can be set
separately and also changed via a non-linear function for different visual morphing sequences, but I chose to opt for the simplest implementation.
This resulted in the following morph sequence:

For this section, we switched our task to calculating the "mean face" of a dataset representative of a population. For this section, I made use of the FEI Face Database. I specifically used their spatially normalized frontal images, which were a set of 400 images that had been normalized to the same size, alongside their manually labeled correspondences.
To compute the average shape of the dataset, I simply took all provided correspondence points and averaged them out by correspondence to retain a set of mean points. Using this mean set, we can again calculate the Delaunay triangulation, and retroactively apply the triangulation to all images in the dataset.
Now that we have a mean triangle mesh and triangle meshes for each face in the dataset, we can warp each face to the same strutcure as the mean. Here are some examples of what that might look like:


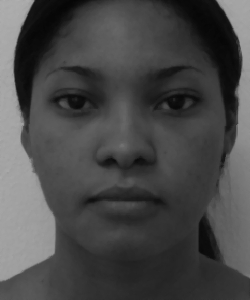

Now that we have all of the images stuctured aligned with their mean structure, we can average their pixel values for a mean of the pixel intensities. With the mean facial stucture and the mean pixel intensity, we get the mean face in the dataset (which is intended to be sample of the human population, so we get an approximation of the average human face).
My computed mean face is shown below:
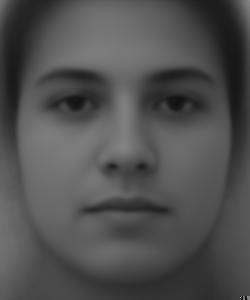
We can also extend the mean face past morphing and transforming the faces in the dataset. To use the information in the dataset to alter my own face, I labeled the picture I took of myself with the same correspondences in the same order as the manually labeled dataset images. After doing that I could also warp my own face to the structure of faces in the dataset, or warp my face to the mean structure, which is what I did.
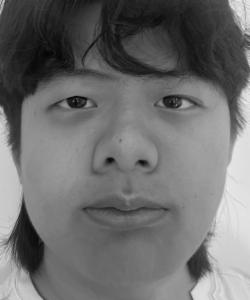
We can also work in the other direction, and map the mean face to my facial structure. That resulted in the following image:
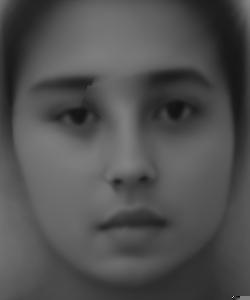
There some weird artificats around the nose bridge area of the Mean reshaped to my face, but that might be because the triangle mesh for my face had some narrow triangles, partially due to rough correspondence selection, partially because my face wasn't included in selecting the triangulation.
Some other interesting things we can do with our previously computed mean is to make caricatures, that is make morphed/blended images that
set warp_frac and dissolve_frac to be greater than 1, or less than 0. This is no long a weighted average of two
images. By doing this, we essentially calculate the "difference" between two images, and add this difference to one of the original images to
emphasize unique qualities of that image.
For example, letting $C_1$ be the matrix of correspondence points in the first image, and $C_2$ be the matrix of correspondence points in the second image, our target points are defined as $(1 - \alpha) C_1 + \alpha C_2$, where $\alpha$ is the warp fraction. We can also write this as $C_1 - \alpha(C_1 - C_2)$. If $\alpha < 0$, then we're essentially adding the difference between $C_1$ and $C_2$, ie. the features of $C_1$ that are different from $C_2$. A similar argument applies to the cross-dissolve.
When we set the second image to be the population mean, $C_1 - C_2$ is essentially your most prominent or unique characteristics. This has the effect of allowing us to emphasize unique qualities of certain images compared to the mean, creating caricatures. Applying this, we can create a "more Derry" Derry face by emphasizing structural and pixel features that are different in my face than the mean.
If we reverse the roles and have the mean be image 1 (or set $\alpha > 1$ while the mean is still image 2), we can create an image that represents the mean with my most prominent features removed, almost like the opposite of me.
These two images are shown below:
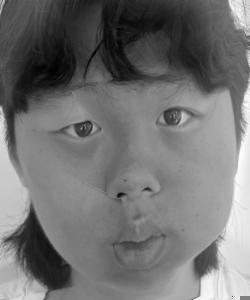
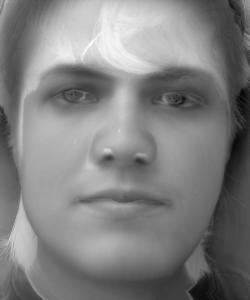
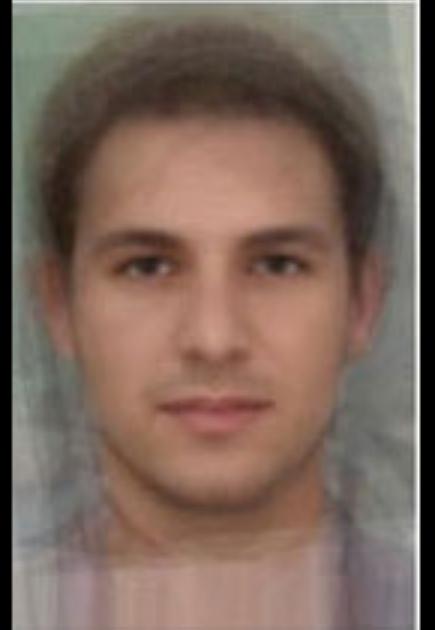
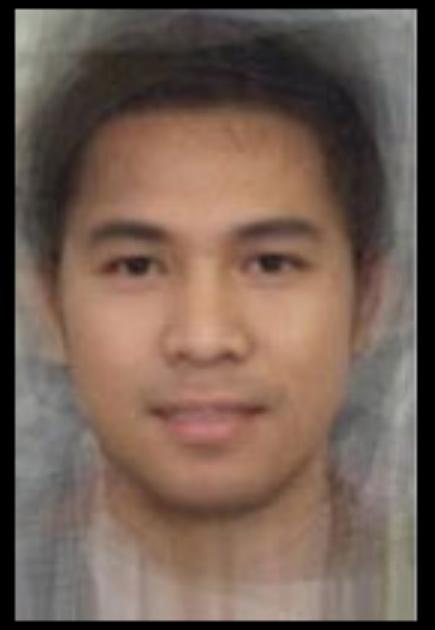
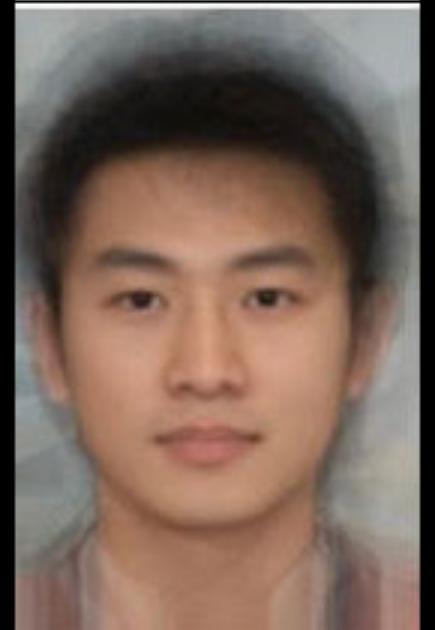
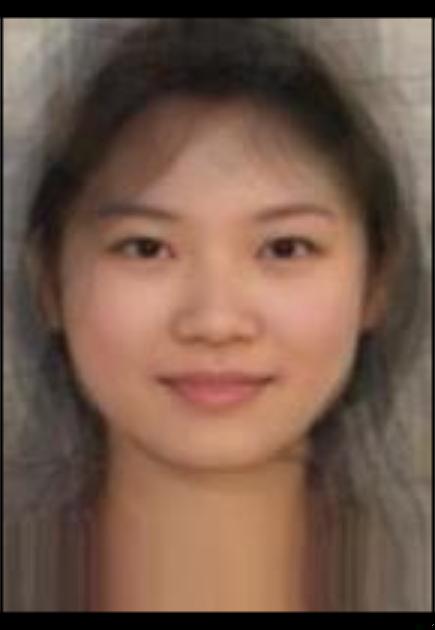
Using the techniques above, we can do some pretty interesting things. One transformation we can make is to change the gender or race of a face. For this section, I changed my face, and made use of some average faces by gender and race as found here (my source attributes faceresearch.org, but the link didn't work for me).
After retrieving the average faces, and rescaling and cropping my image to match their dimensions and rough structure, I was able to define custom correspondences. After that, it was just a task of applying the same morph developed in Part 3. Here are the results:
Mean faces:
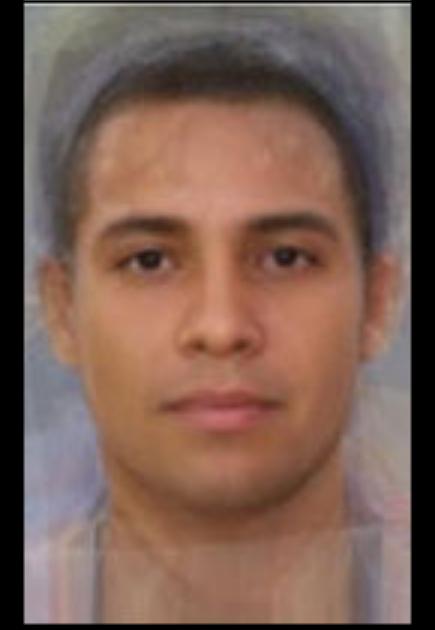
Only warping to means:
Only cross-dissolving:


Full morph:


